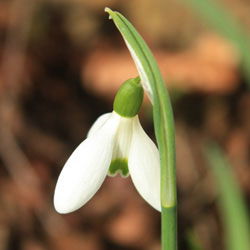
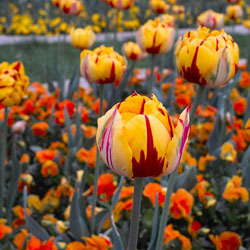
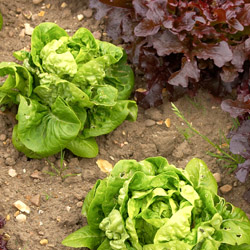
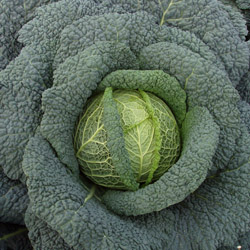
Soil pH is a critical factor for gardening success. Some plants thrive in neutral soil while other plants prefer soil on the acidic side. The difference lies in the plant’s ability to use nutrients present in the soil. For plants that prefer an acidic soil a critical nutrient is iron. Iron is most easily available in soil with a pH of around 5.5. Without iron, acid-loving plants will turn yellow and suffer stunted growth.
What is pH?
pH stands for “potential hydrogen ions” and is the measure of acidity or alkalinity. The pH scale ranges from 0 to 14. pH less than 7 indicates acidity, pH greater than 7 indicates alkalinity and 7 is neutral. Soil pH directly affects nutrient availability. Plants grown in soil with pH above or below their optimum range will be less vigorous, more susceptible to disease, less able to fight off insects and may even be weakened to the point of death.
How pH Affects Plants
Nutrients necessary for healthy plants are divided into three categories: primary nutrients, secondary nutrients and micronutrients. Primary nutrients are (N) nitrogen, (P) phosphorus and (K) potassium. These nutrients requited in the largest amounts for plant growth and health and are represented in numbers found on every fertilizer container (for example, 20-20-20). (Ca) Calcium, (Mg) magnesium and (S) sulfur are secondary nutrients that are also required by plants. These are required in lesser amounts than N-P-K but are also essential for good plant growth. (Zn) zinc and (Mn) manganese are examples of micronutrients. Micronutrients are required by plants in very small amounts. Most secondary and micronutrient deficiencies are easily corrected by keeping the soil at the optimum pH value.
Because pH directly affects nutrient availability, acid-loving plants develop iron chlorosis when grown in soils that are too alkaline. Iron chlorosis is often misdiagnosed as a nitrogen deficiency because both present with a yellowing leaf. Chlorosis of young leaves is the first symptom of iron deficiency, while a magnesium deficiency results in yellowing of older leaves first. Nitrogen-deficient plants will not only have yellow leaves but also weak stems, underdeveloped leaves and reduced root development.
What Causes Soil Acidity
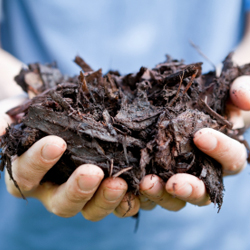
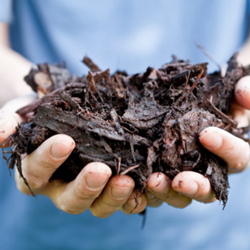
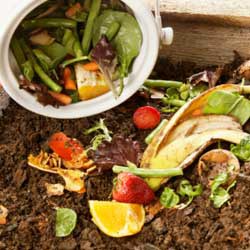
Soil pH is influenced by the kind of parent material from which the soil was formed. Rainfall also affects pH. As water passes through soil it leaches basic nutrients such as calcium and magnesium from the soil, which are replaced with acidic elements such as aluminum and iron. For this reason, soils formed under high rainfall conditions are more acidic than those formed under dry conditions. Caused by pollution, acid rain also has an influence in soil pH. The application of fertilizers containing ammonium or urea speed up the rate at which acidity develops in the soil. The decomposition of organic matter will also add to soil acidity.
Testing and Adjusting Soil pH
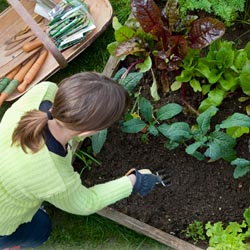
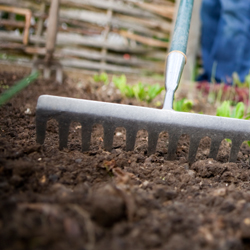
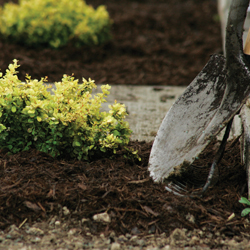
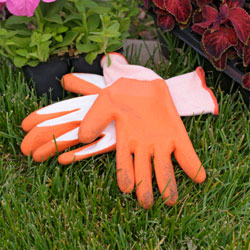
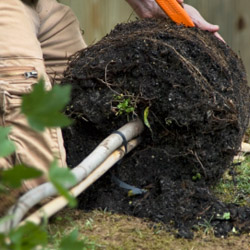
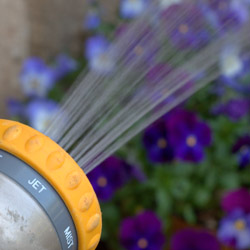
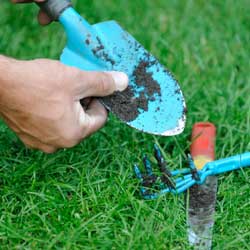
Before planting any plant it is best to know the optimum pH range that plant will thrive in and the pH of the soil in which you will be planting. “The right plant in the right place” is always the best policy. Purchase a pH test kit or meter. These are available at most garden centers, or you may also send a soil sample to your county extension service. This will give you a more in-depth soil analysis along with the pH. To correct soil pH it is imperative that you know the soil pH before you attempt to change it.
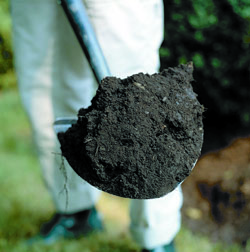
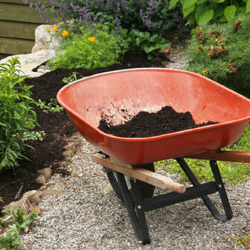
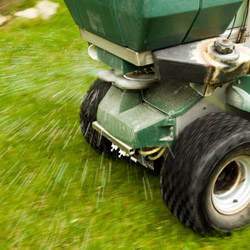
Adding shredded pine needles, composted oak leaves or peat moss will assist in lowering soil pH over time. A quicker fix is the addition of two materials commonly used for this purpose: aluminum sulfate or garden sulfur. Aluminum sulfate will change the soil pH instantly because the aluminum produces the acidity as soon as it dissolves in the soil. Garden sulfur requires some time for the conversion to sulfuric acid with the aid of soil bacteria. The conversion rate is based on the fineness of the sulfur, the amount of soil moisture, soil temperature and the presence of bacteria. Based on these factors, the conversion rate of sulfur may be very slow and could take several months for a full effect. Acidifiers should be worked into the soil after application to be effective. Do not apply to leaf surface or burn may result. Read and abide by manufacturer instructions when applying.
Keep in mind that it takes time to alter soil pH and your soil will tend to revert to its old pH over time, necessitating repeated treatment. Attempting to change soil pH too quickly may shock and kill a plant. A good rule of thumb is to adjust no more than one point per season. It is also important to note that fertilizers recommended for acid-loving plants do not assist in adjusting the soil pH, but are instead formulated to work well in already acidic soil.
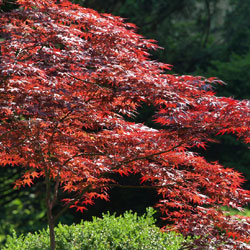
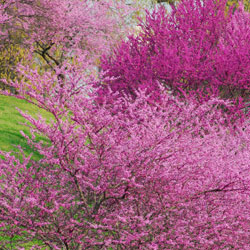
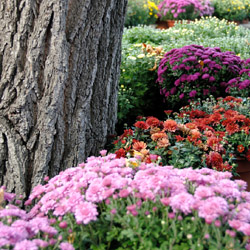
Acid-Loving Trees and Shrubs
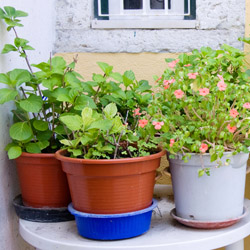
Want to add gorgeous plants to your landscape without worrying about acidic soil? These plants thrive in soils with low pH, or come in for an expert consultation on your soil’s pH and what plants will do best in your garden, flowerbeds and landscape.
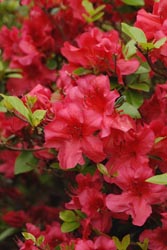
- Azalea
- Bayberry
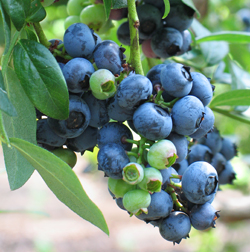
- Blueberry
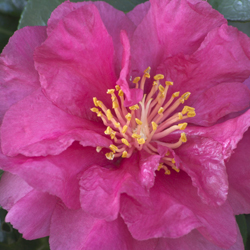
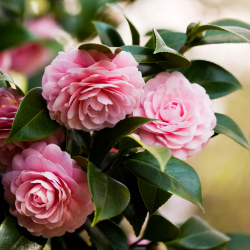
- Camelia
- Cranberry
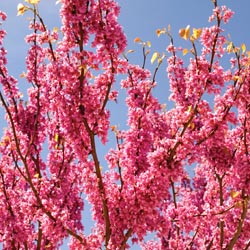
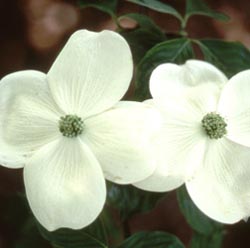
- Dogwood
- Fir
- Fothergilla
- Gardenia
- Heath
- Heather
- Hemlock
- Holly
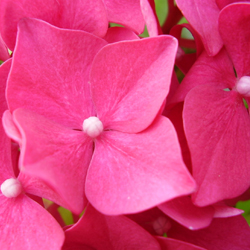
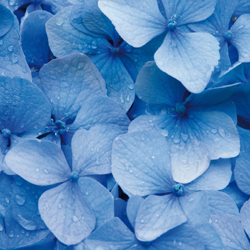
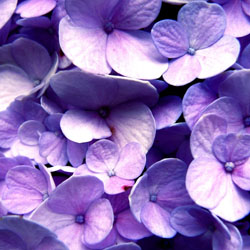
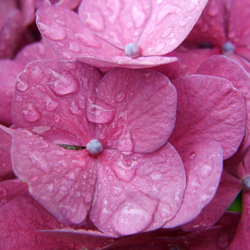
- Hydrangea
- Itea
- Leucothoe
- Magnolia
- Mountain Ash
- Mountain Laurel
- Oak
- Pieris
- Pine
- Raspberry
- Rhododendron
- Spruce
- White Cedar